Sunday 30 April 2017

"happy day" - Lydia

Good morning lovely people, Lydia back and  I hope you all are having a wonderful weekend an getting some creative time in there somewhere. I am not quite sure if I will get creative as I have a pile of school assignments to get done. So I am back to share my first layout using the new "Belle" kits. I am so excited about these kits as they are full of the beautiful Cocoa Vanilla Studio 'Wild At Heart' collection.

Here is my fist layout using the new "Belle" kits.


I did a centre design going down the page. So I knew I would have to add a little cluster somewhere off to the side. So at the top left corner I added some of the ephemera arrows, a bitty bloom and of course some enamel dots.


I did add some stamping but unfortunately you are unable to see it in these photos. I used the gorgeous mini KaiserCraft floral stamp that come in the TCK. So behind my photo I added some layers of the patterned paper and also some of the speciality vellum too.


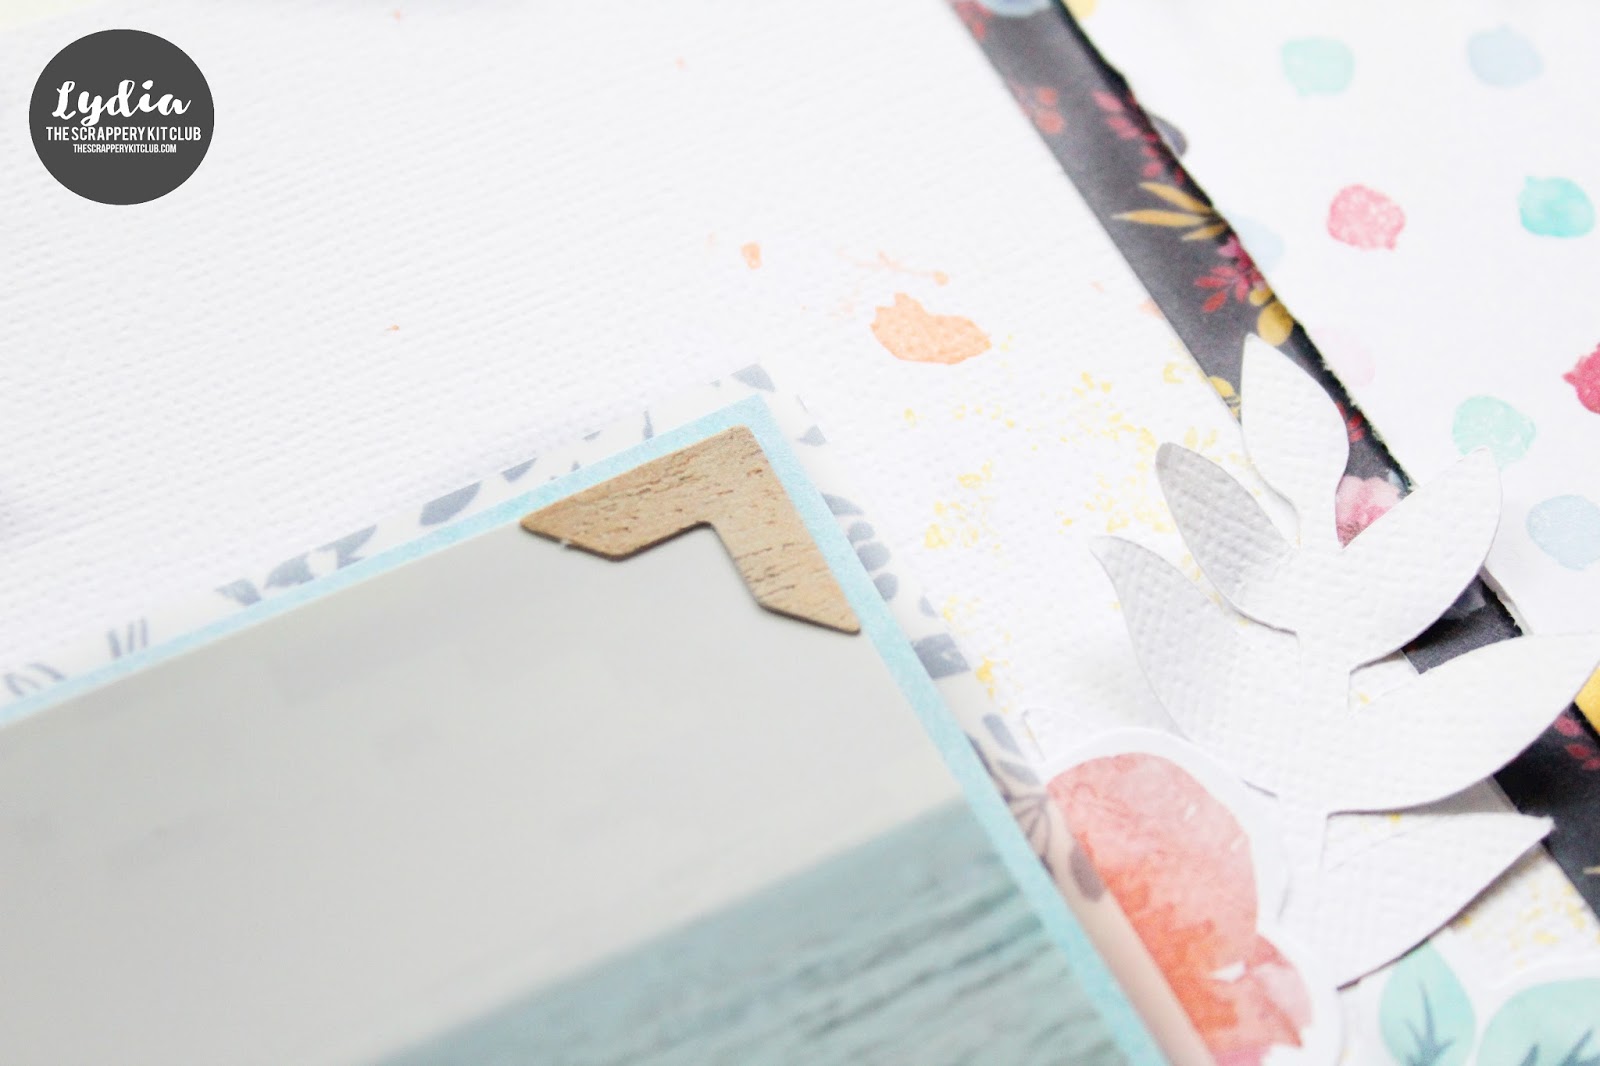
As for embellishments I used the beautiful floral pieces from the ephemera pack and also added some Circut die cutter leaves from my stash from cardstock.

 
And to the right side of the photo I also a few other embellishments. I used a few more bitty blooms, a cardstock ephemera arrow and one of the fun rubber embellishments. And of course to finish some more enamel dots.
 
 
For the title I used one of the Cocoa Vanilla Studio wood veneer words and some of the Thickers that came in the kits. I also finished the page with some splatters using the KaiserCraft 'Peach' mist that came in the TCK.
 
So I hope you like this layout and grab some inspiration to create some layouts using your 'Belle' kits.
Have a great day.
 

Saturday 29 April 2017

The Gorgeous Belle Kit in my Planner!


One of my favorite things to do with a new kit is decorate my planner with it and I just love making inspirational covers for all my notebooks and a folder to keep my goodies in!!


This first cover is a vellum paper from the Cocoa Vanilla Wild at Heart collection included in this kit! We don't always get vellum and I just love using it in my planner, so pretty!!  The quote is from the ephemera as well as the butterfly and the heart is from the chipboard stickers in the main kit (TSK)


This is my Foxy Fix dashboard. I used one of the Pretty Little Kit (PLK) 4 x 6 cards for my background and used a quote from the cut apart sheet in the same kit. The two wood pieces are from the TSK.


This the folder that I made for this kit, I love the gorgeous big florals in this collection and this quote from the PLK cut apart sheet is perfection.  The butterfly is fussy cut from the same sheet and the sparkly enamel dots are from the Bits and Pieces Kit (BPK).


For my bullet journal notebook cover I am using the teal dotted paper from the main kit, as well as a cardstock sticker quote from the TSK, the chipboard hearts from the chipboard stickers and the buttefly from the ephermera kit in the BPK.  I added some sparkly enamel dots in a few places including the butterfly body.


My final planner cover is the slip on cover I make every kit for my Hobonichi journal. I added the quote, and butterfly from the ephemera pack, a wooden hear and some of the small flowers from the BPK.

I love the coordinated and decorated look that I get for my planner when I used the Scrappery kits!  I hope you like my projects and I thank you so much for stopping by!!


Friday 28 April 2017

Forever in my Heart Layout - with Lisa

Hi there
Lisa here today sharing a layout I created of my Mum.
My Mum passed away quite unexpectedly in September last year.

I knew I wanted to scrap a photo as a special tribute to her memory, but I had to wait until I was ready. I wasn't exactly sure that I was ready...I'm really happy with how the page turned out & so it was quite healing to get it done.

I cam across this gorgeous butterfly cut file in the Silhouette shop. I knew the gorgeous "Cocoa Vanilla Studio" papers in the "Belle" kit would be a perfect fit.
I just backed the cute file with a piece of floral patterned paper - so the floral print picked up in the butterfly cut outs.


Some close ups.
I also used a soft doily, a frame & some lovely floral pieces from the ephemera pack.


I searched for some quotes online & came up with this one...which yes, is sad - but I love it.


Thanks so much for stopping by. Pop over to the shop & check out the kits & other goodies.


Saturday 22 April 2017

Art Journaling and Scrapping with the Lilly Kit


Over the last few weeks I have gotten really excited about trying art journaling and when I spotted a group doing art journaling mixed with planning and scrapbooking I got so inspired and immediately got a Moleskin diary to set up my own version of the "Life Documented Project" for 2017!  As my Jade kit is well used over the course of 6 projects I have gone back to my Lilly kit for this project, along withe the stencils from the Jade Color Kit.


To do this project you "tip in" a page for doing your art journaling prompt for the week. This week  the prompt is "add photos" and since I am new at the art journaling I thought perfect, I will do what I know, a scrapbook page, with my Lilly kit and do a bit of mixed media background on the the moleskin pages! I tipped in the gorgeous Cocoa Vanilla Make A Wish Daydream paper in a lovely soft blue with a floral B side from the main Scrapbooking Kit (TSK).


In this first closeup you can see two photos of my eldest daughter a few years apart, Wow she has grown up so much!! You can see some gorgeous floral ephemera from the Make a Wish collectin tucked in around the photos. This ephemera is from the Pretty Little Kit (PLK) Project Life themed kit, and the cute sequin stickers come from the Bits and Pieces kits (BPK) embellishment kit!


Here you can see more of the ephemera and sequin stickers as well as the Best Ever sticker from the cardstock sticker sheet in the PLK.  You can see where I added a little Dried Marigold distress ink under the photos to help tone in with the mixed media background on the planner page. I used a quote which was also part of the weekly prompt.


I had a lot of fun with distress inks for my backgrounds on my planner papers! I also used the chevron and rose stencils from the Jade Color Kit in the backgrounds to add texture and depth!   My prompt uses the adorable multi color alpha and several ephemera from the PLK.


On my second page in the Moleskine I continued the mixed media distressed background and did a bit of journaling and scrapbooking here, using some ephemera and a journal card and doily from the PLK.


On the back side of the tip in I did a little collage piece using a gorgeous image I found.  The crown is from the Pretty Little Pieces in the BPK and Celebrate You comes from the cut apart sheet in the PLK.  I am really excited about this new project and hope to bring more like this here to share with you in the future!!

If you like the projects you see and want to buy a kit or subscribe you can find the shop HERE. Thank you so much for stopping by and hope you will come back again to visit next week!!


Thursday 20 April 2017

Happy Snaps Traveller's Notebook Layout

Hi there
Lisa here today to share a layout I have done in my traveller's notebook, using the "Jade" kits.


Sometimes I like to document in my TN instead of actually doing a layout that needs to go in an album. It's a fun way to create & document.


Some close ups.


Thanks for stopping by. Make sure you check out our kits & other goodies in the shop.

Lisa XO


Sunday 16 April 2017

"Me + You = Us" - Lydia

Happy Easter everyone. I hope you are all having a lovely day with family or if you are reading this after hope you had a great day filled with family fun. So far we are just relaxing at home today and enjoying some family time.

Although I would have liked to have had a Easter inspired layout/project to share I do have a layout which I love and is a lot simpler then what I normally do.  I love, love, love how this turned out and I really like how it is cute and soft but without a whole lot of embellishments.


I knew when I first got the 'Jade' kits I wanted to use the gorgeous gold glitter die cut as a title on one of my projects but I just didn't know how I  would us it a I am normally a Thickers girl for a title. After watching a few of HeyNaeDaily's videos on YouTube I was inspired by her layouts which have the photo in the center. So after added al my layers behind my photo I added the die cut underneath and made a bow out of one of the papers in the kit and added that too.


Behind my photo I added one f the beautiful dedicate doilies which come in the kits (Which you are unable to see), I also added same of the papers from the kits also. Within all the layers I added some white tulle to add a another element to make the layout soft and delicate.


I also got some of my trusty American Crafts cardstock from my stash nd got the Cricut machine out of the box to cut some die cut eaves which I added to both sides of the photo. I also added a gold paper clip which was in one of the past kits.


And last but not least I added some enamel dot from my stash an added a few splatters of the grey KaiserCraft spray which in The Colour Kit.


I hope you all have/had a wonderful Easter break and I will see you next week with another project.
Lydia xxx

Saturday 15 April 2017

Some More Fun Cards with the Lilly Kit!


Hello scrappy friends, Cathi back again this week with a few more card shares from the gorgeous Lilly Kits featuring Cocoa Vanilla Make a Wish!  I've done two more cards from this collection and just love the gorgeous colors and fun embellishments in this kit.


For my first card I have used the gorgeous pink watercolor paper Hip Hooray from the Make a Wish collection found in the main Scrapbooking Kit (TSK). The Hip Hip Hooray is a cut out from the sheets in the collection found in the Pretty Little Kit (PLK). I have added so many embellishments in the collection: the enamel dots and the flair are from the Bits and Pieces Kit (BPK), puffy stickers are from the PLK, and the wood pieces and chipboard stickers are from the TSK.  I popped the cut apart sentiment up on foam tape and had a great time arranging and layering the embellishments for a fun birthday card.


For the second card this week I used the soft delicate aqua color paper, Party Dots from the Make A Wish collection. The cake is a cut apart from the PLK along with the ticket ephemera, while the enamel dots are from the BPK and the wooden pieces and chipboard "Celebrate" are from the TSK. These kits are so well coordinated, it makes putting together cards so fun and easy!

If you like the projects you see and want to buy a kit or subscribe you can find the shop HERE. Thank you so much for stopping by and hope you will come back again to visit next week!!


Friday 14 April 2017

Mixed Media Cards with Lisa

Hi there
Lisa here today sharing three cards I have made using the "Jade" kits.


I had 2 goals when creating these cards...
One was to use all the mixed media goodness in the kits & lets be honest sometimes paper on 
its own with embellishments is easy as my go to.
So this meant, paint, ink sprays, stencils & stamps!
These kits were packed for of MM goodness!
Secondly I was aiming to create both feminine & masculine cards.
So I came up with a pretty pink & floral card, a bold black, white & orange card & a more general blue with brights.


The pink & floral is possibly my favourite of the three. I created the background by mixing texture paste with the Kaisercraft pink paint & the Kaisermist in pink together to get the desired colour.
I applied it over the rose stencil.
I sped up all drying time with a heat tool.
I layered with a doily, a die cut I cut from the Cocoa Vanilla cut a part & some of the Kaisercraft flowers.


My second card went a bit unplanned initially, I tried the Kaisermist (winter grey) over the chevron stencil. As its obviously a liquid it seeped quite a bit. Anyway, I dried it off - it gave it quiet a nice effect almost embossed.
Once dry, I stamped using Staz On randomly on the card.
A few punched circles, paper strips, a stamped image & black pearls to complete it.


For the 3rd card I had another go with the chevron stencil. This time I mixed the Kaisermist with the texture paste to create a soft silver/grey look. Once dry I used some Distress inks from my stash to build on the colour & bring in blue/green.
I then just added fairly random strips of paper, layering them at different heights for effect.
I added some bling & I was done.

I hope you've enjoyed my share today. 
Make sure you check out our kits & other goodies in the shop.

Lisa XO 


Sunday 9 April 2017

Mini Boxes - Lydia

Good morning friends, I hope you are all enjoying your weekend. I sure am as school holidays is already half over but I have had loads of time to create.
When I first had the idea for todays project I thought this would be perfect for an Easter project on the blog, but once I started making it didn't turn out Easter at all. But you could always use it as an Easter idea.

Here is this weeks project which I loved to make as I don't normally do anything else other then my normal 12x12 layouts, cards and Project Life. These cute little noodle  boxes I made using a template I had, I am sure you could find a template on Pinterest ect.


I love how these turned out. All they used was a 6x6 size piece of patterned paper, adhesive and some embellishments. As I mentioned before I really wanted to make these for Easter but they didn't really turn out that way but I am sure you can see how s=cute they would be for Easter filled for some chocolate Easter eggs.


I did add some embellishments from past kits but used the papers and KaiserCraft gems. All these needed were a few small embellishments as these boxes are quite small.


And to finish them off I added a piece of bakers twine from my stash which I think made them cute. I did use those KaiserCraft bloom which I am loving at the moment.


And this navy twined worked perfectly for one of the three boxes I made.


Well I hope you all like this idea and make some of your own for Easter perhaps. I sure did have a lot of fun making them as they are really easy.
 

Have a great week ahead.
Lydia xxx

Saturday 8 April 2017

Celebration Cards with the Lily Kits


Hello, hello, scrappy friends, Cathi back again this week with a share from my Lilly kits and the gorgeous Cocoa Vanilla Make a Wish collection!!  I was able to create 6 different sets of projects from the Jade kit and I wanted to dig into my Lilly kit and make some fun birthday themed cards.


For my first card I used the gorgeous Blue and White Diamond pattern from the Make a Wish - Daydream paper found in the main Scrapbooking Kit (TSK). The bingo card was a die cut from the Pretty Little Kit (PLK) and the celebrate cut apart was also from the cut apart sheet in the same kit.  The bow, flair and gems are from the Bits and Pieces Kit (BPK).  The "Yay" and cake wood pieces are also from the TSK.


For my second card I used the flip side of the Make a Wish Daydream paper, a gorgeous fresh floral design. I added several pieces from the ephemera kit from the PLK. The gems come from the BPK and the wood party hat comes from the TSK.  I love the bright bold graphics in this collection and how all the pieces work together!

I hope you enjoyed my share of these two cards. I have another set coming next week while we wait for the next gorgeous kit to arrive! If you like the projects you see and want to buy a kit or subscribe you can find the shop HERE.  Thank you so much for stopping by and hope you will come back again to visit next week!!